Well we’ve finally had enough with that puddle of 90-weight gear oil puddled on the shop floor under our Starliner’s rear end. The seal was so bad that oil would actually run out when the rear pumpkin was filled up. While we’re at it we are going to install new axle seals, ARP differential mounting studs, and a new differential gasket as well. We started by jacking the car up and placing jackstands under the frame, letting the rear hang down. This job is much easier to do if you have an automotive lift, but alas we are relegated to the shop floor for the time being. After removing the rear tires and brake drums, marking the drums with chalk so they are re-installed in the same position, we removed the four nuts which retain the u-joint retaining straps. We just let the driveshaft rest on the ground while performing the service on the differential. Next step is to remove the axles.
The Ford 9-inch is a semi-floating type axle design and uses four studs and nuts to retain the axles. Remove the axles by the removing the four nuts which are accessible through a hole in the axle flange in between the wheel studs. Once the nuts are removed the axle should slide out, one of ours was a little stubborn and required the use of a slide hammer. Harbor Freight has relatively inexpensive slide hammers or your local auto parts store may have loaners or rentals available. Once the axles are out you can remove the third member (differential) from the axle housing. Keep in mind that the replacement of a pinion seal does not require removal of the third member but since we have some other work to do we are going to replace the seal with the differential on our workbench. There are 10 retaining nuts that secure the differential to the axle housing. After removing the nuts, the differential can be removed. Sometimes a long screwdriver or prybar can help break the unit loose. Be careful and enlist a second set of hands if you can as these differential units are very heavy.
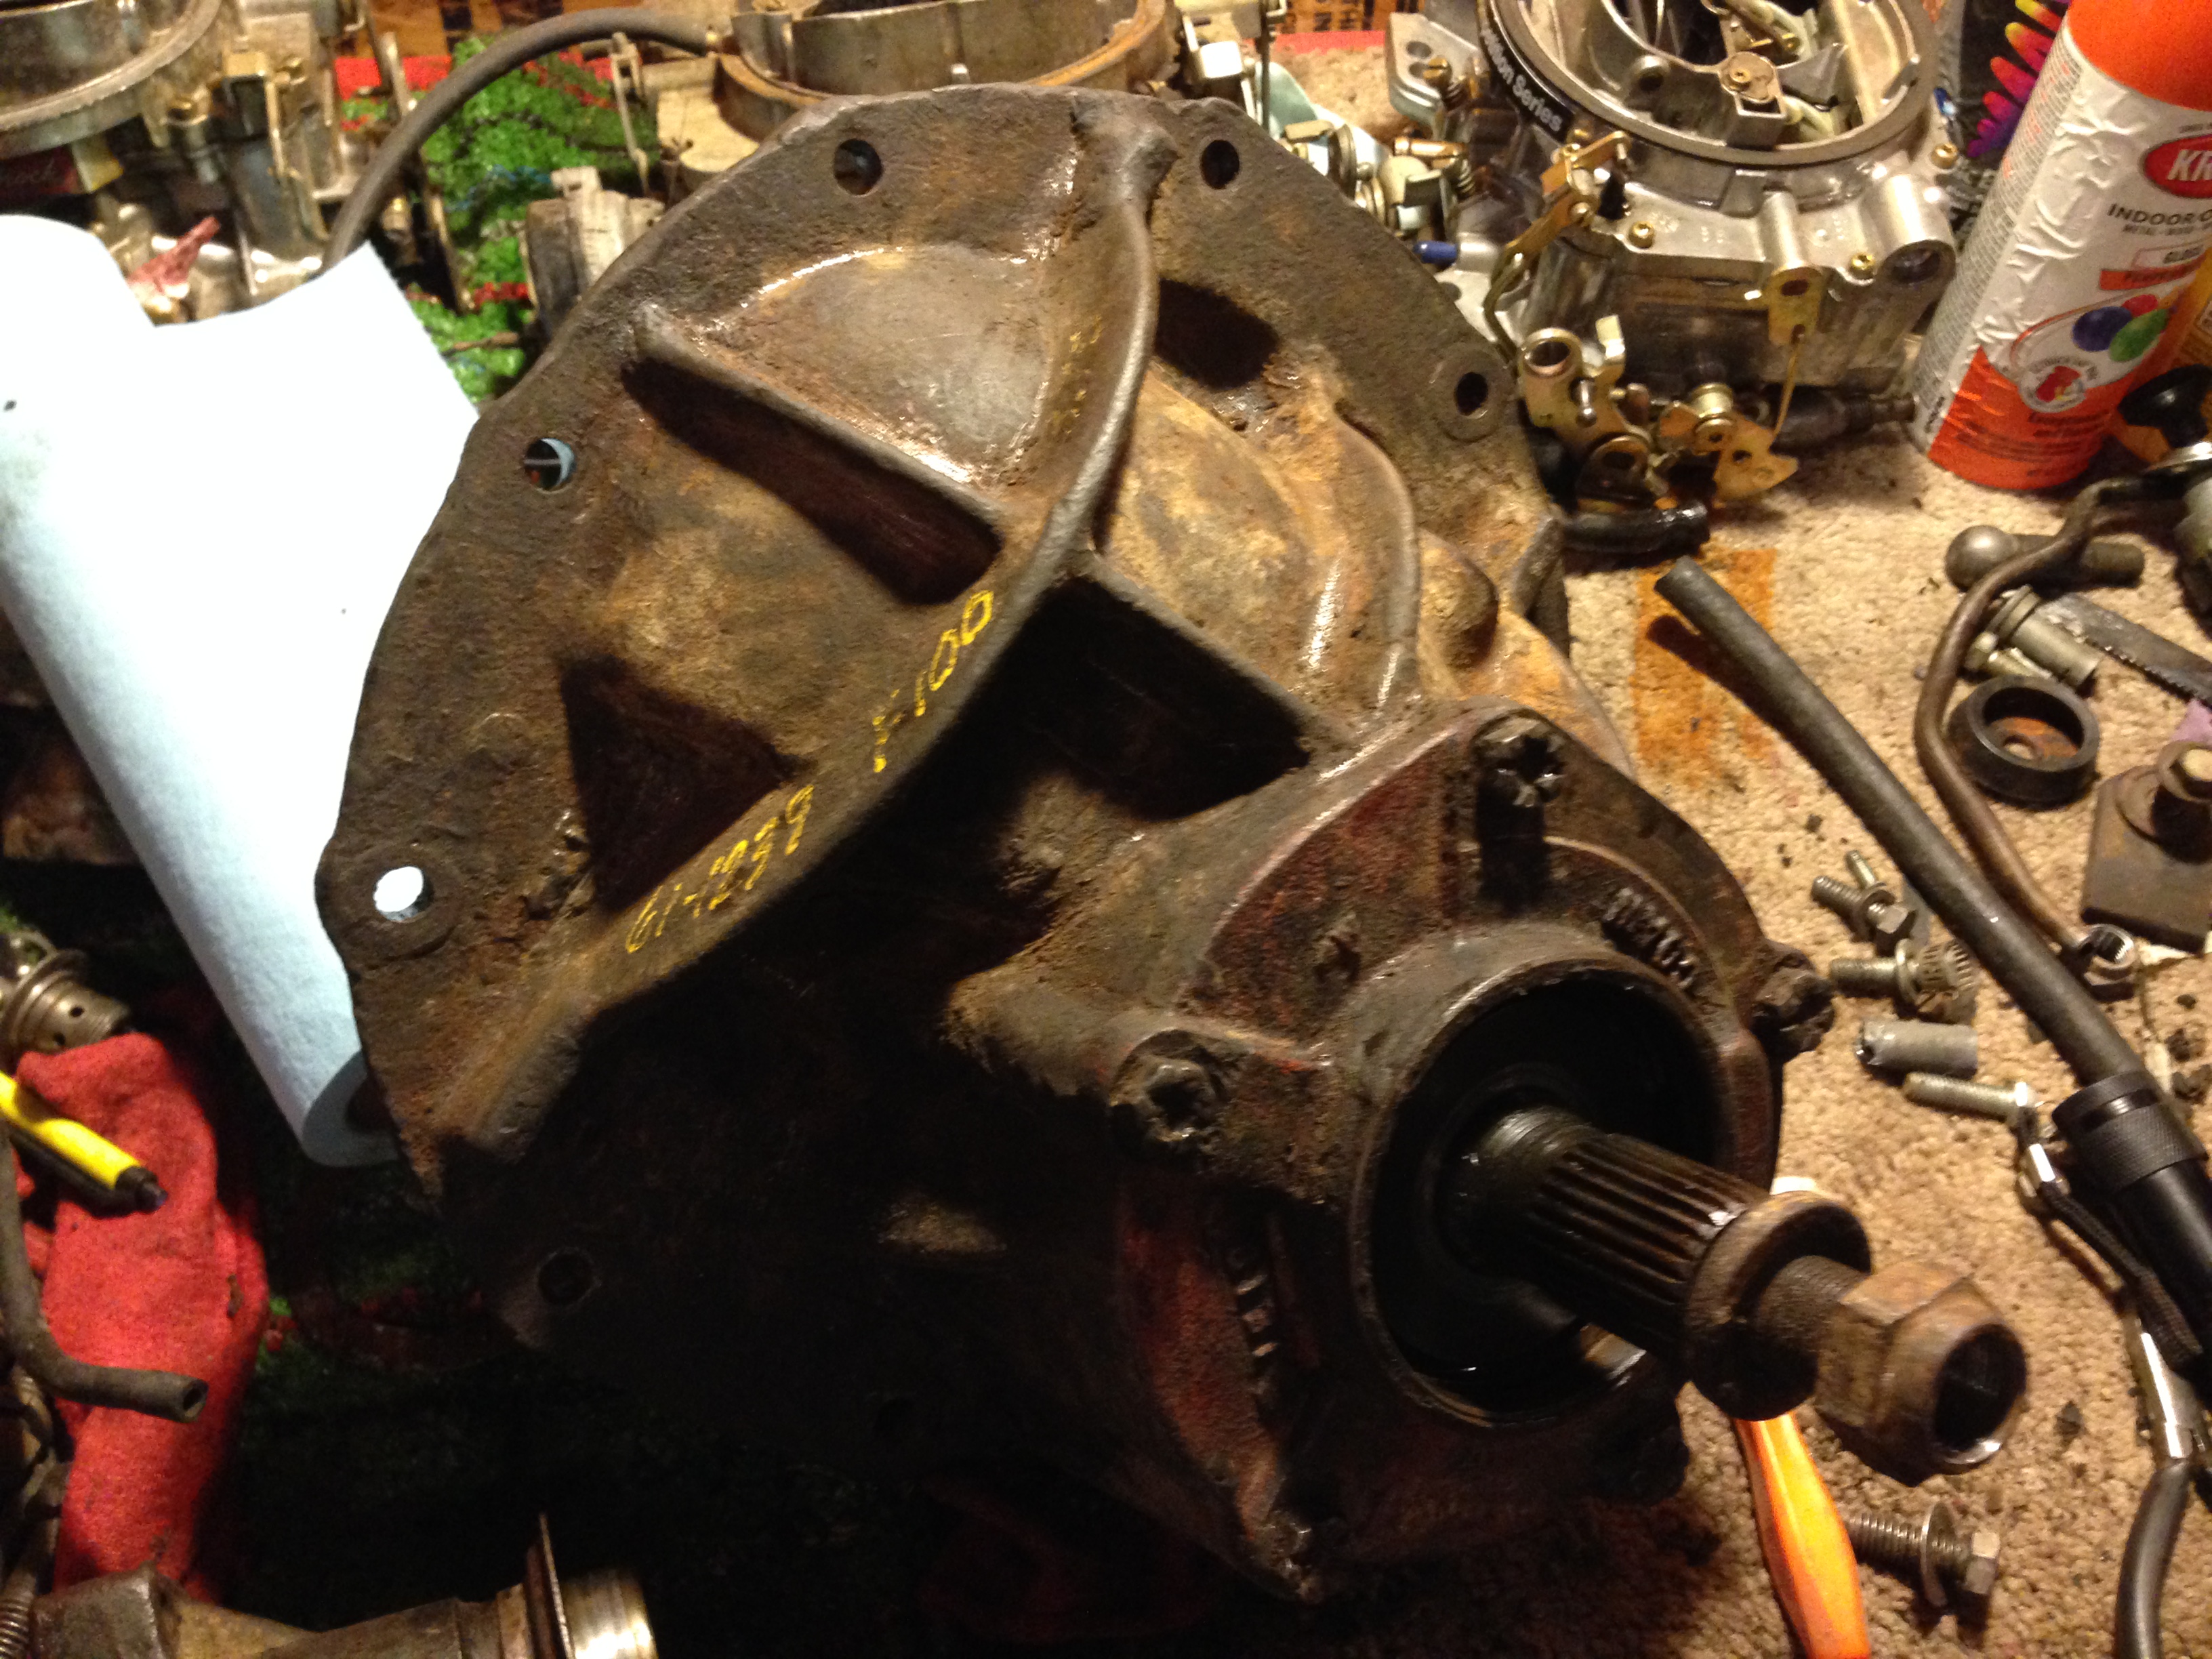
Ford 9-inch Third Member
Once on the workbench the first thing to do is remove the yoke. An impact gun works best to remove the pinion nut, ours used a 1 1/16″ socket. The yoke may require a little coaxing to come off of the pinion shaft. Use a hammer to gently tap the yoke being careful not to distort the u-bolt strap mounting holes. With the yoke out of the way you can now remove the pinion seal. Make sure your work area is clean as you don’t want debris or contaminants getting into the differential or pinion bearings. Use a small flat tip screwdriver to remove the seal by tapping the screwdriver underneath the lip of the seal. Work your way around until you can pry the seal the rest of the way out. Be sure to leave the oil slinger in it’s place.
Install the new seal by gently tapping it into place. We used a small piece of wood and a hammer to tap the new seal into place as you never want to tap directly on the seal with a hammer. The slightest ding in an oil seal can lead to a pesky leak and trust us when we say you don’t want to do this job twice. There are seal drivers made specifically for this purpose but if you’re careful, the piece of wood and hammer trick works fine.

Ford 9-inch Ring Gear
Once your seal is fully seated you can re-install the yoke. Here comes the tricky part as the pinion preload must be set when tightening the pinion nut. You will need an inch-pound torque wrench to properly set the preload. A beam or dial type torque wrench is best for this job as you will be measuring the force it takes to rotate the pinion. Ford specification is 8-12 inch pounds for used bearings. Once preload is set and gasket surfaces are clean, the differential is ready to re-install in the housing.
We simply knocked the old housing studs out with a hammer and installed the new studs by using a sleeve and nut to pull the new ARP studs into the housing. We installed a new gasket and used a little RTV on the metal surfaces and remounted the differential into the axle housing. Tighten the nuts evenly to a specification of 30-40 foot pounds.
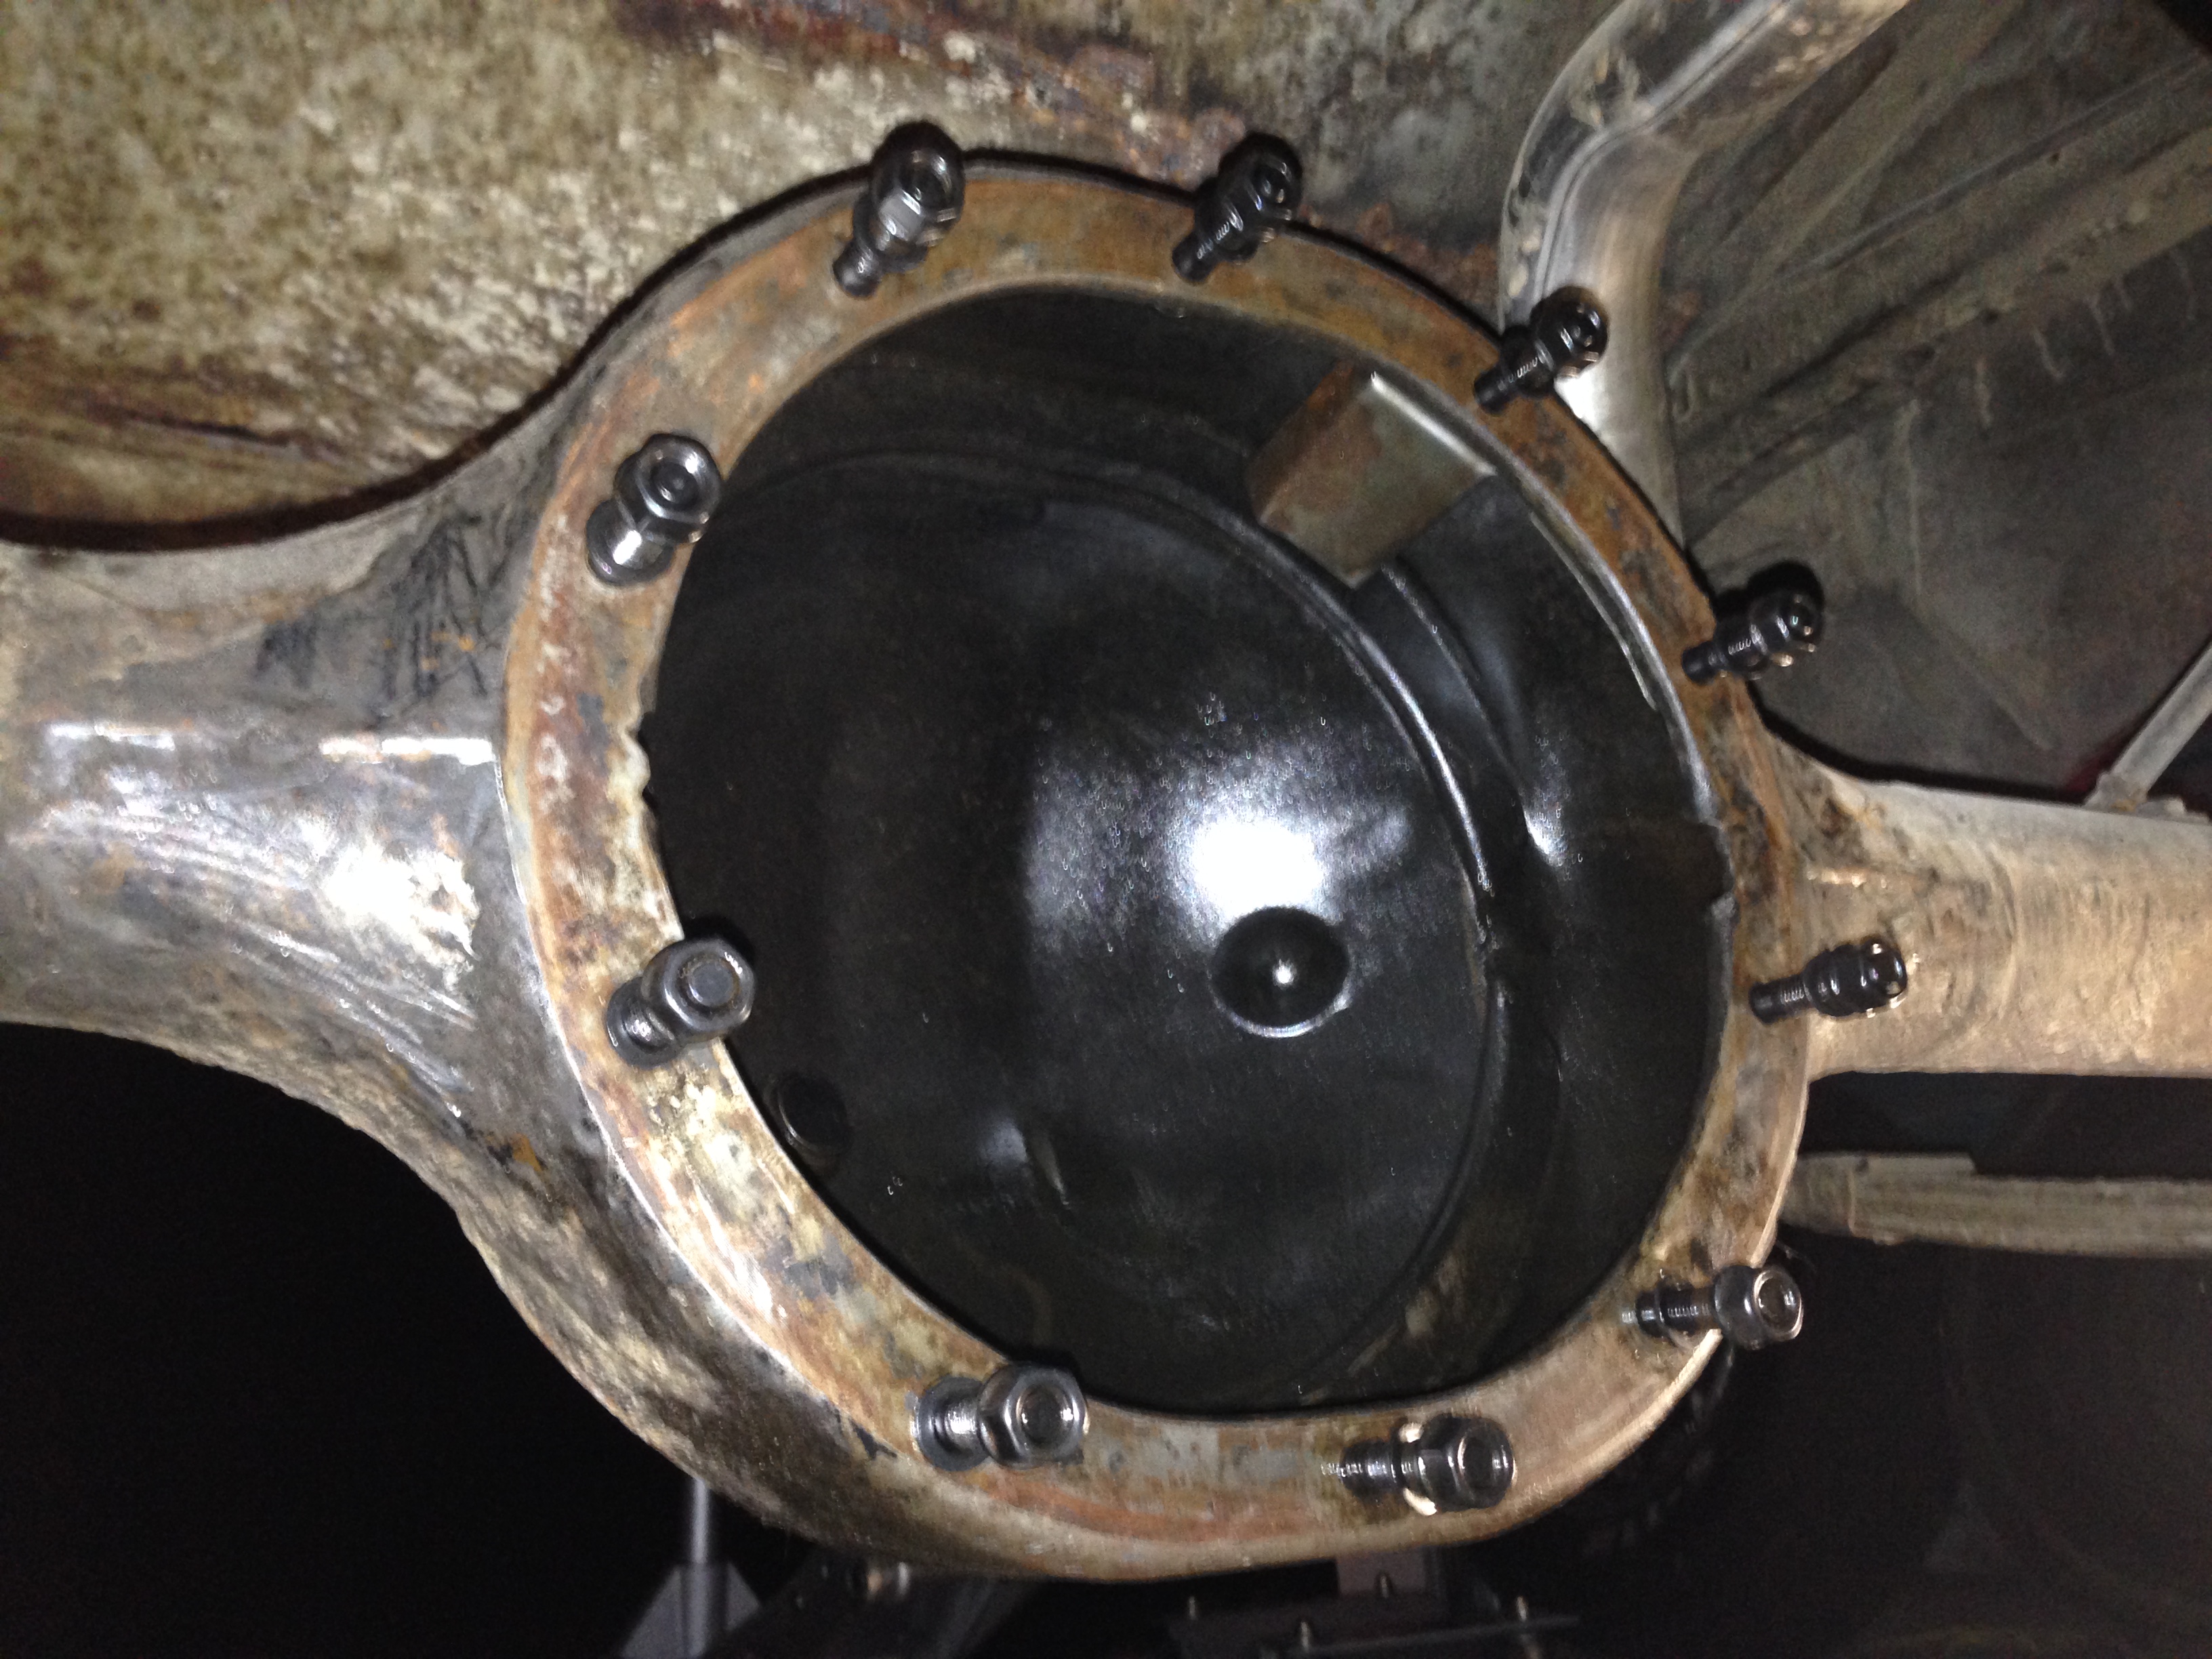
Ford 9-inch housing with ARP studs installed.
The axle seals are a fairly straightforward install. Simply use a hook type removal tool to pop the old seals out of the housing. If you do not have a removal tool you can sometimes use the end of the axle to pry out the old seals. Make sure the housing is clean before driving in the new seals. You’ll want to use a seal driver for this part of the job to avoid damaging the new seals. Tap gently until the seal rests against the lip inside the housing. Once the new seals are in you can re-install the axle shafts. Inspect the bearings, making sure they spin freely before re-installing the shafts. If bearing service is required, new bearings will have to be pressed onto the axle shafts.
Our bearings were fine so we are simply going to slide the axles back into the housing. Be careful not to nick the seal when sliding the axles back in. Once the axle shaft contacts the differential you may have to rotate it slightly for the splines to line up.

Ford 9-inch axle seal
Once the shaft is all the way in, re-install the axle retaining nuts and torque them to 30-40 foot pounds. Re-install the driveshaft and torque the retaining nuts to 15-20 foot pounds. The brake drums and wheels/tires can now be re-installed. Typically the wheel nut torque is going to be around 100 foot pounds. Finally fill the pumpkin with 80W-90 gear oil to the bottom of the filler hole. Don’t forget a friction additive if you have a limited slip differential. Our Starliner was originally equipped with an Equa-Lok (limited slip) unit so we filled ours with Lucas 75W-90 synthetic gear oil which doesn’t require the use of an additive.
Don’t forget to road test and do a big smoky burnout!


Recent Comments